This post contains affiliate links. See my disclosure policy here.
About Prickly Pear Syrup
Prickly pear syrup is a brilliantly pink, fruit-forward mixer that showcases the sweet, melon- and berry-like flavors of the cactus fruit. It’s considered a flavored simple syrup, which is essentially just sugar dissolved in hot liquid, but with the fresh fruit adding natural color and sweetness without being cloying.
Like classic simple syrup, it’s also easy to make at home. In this recipe, fresh prickly pear slices, sugar, and water are gently infused sous vide until the sugar dissolves and the flavors evenly meld together, capturing the fruit’s vibrant color and delicate taste in every drop. And once it’s finished, this eye-catching syrup can be used with tequila, rum, gin, sparkling cocktails, or your own imaginative creations—perfect for adding a bright, playful twist to any drink.
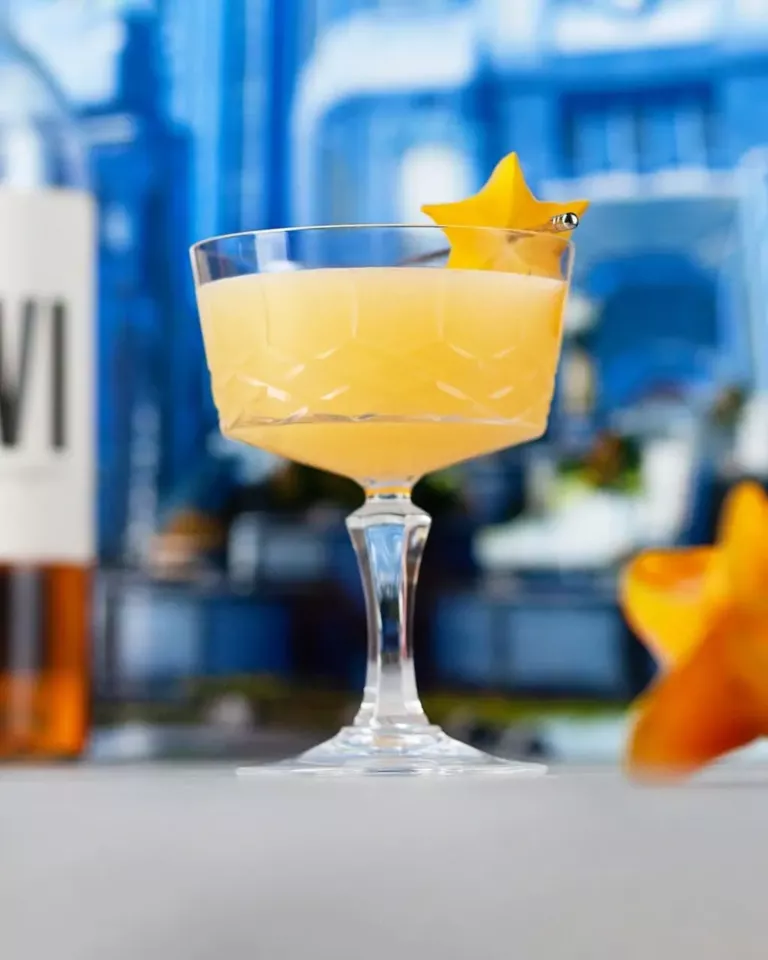
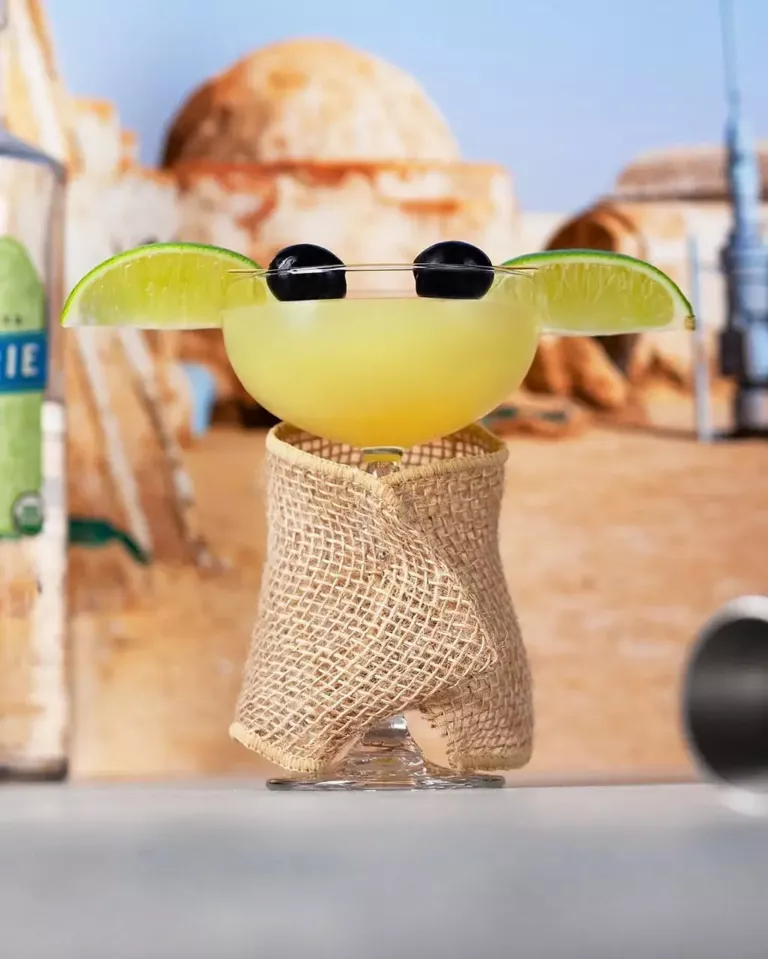
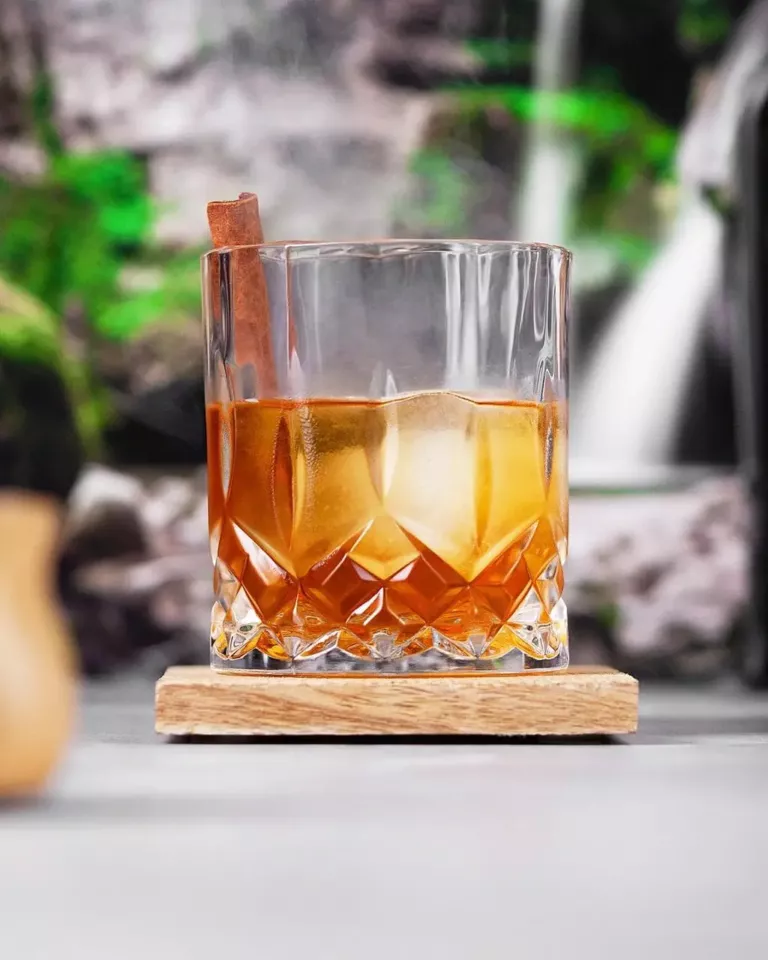
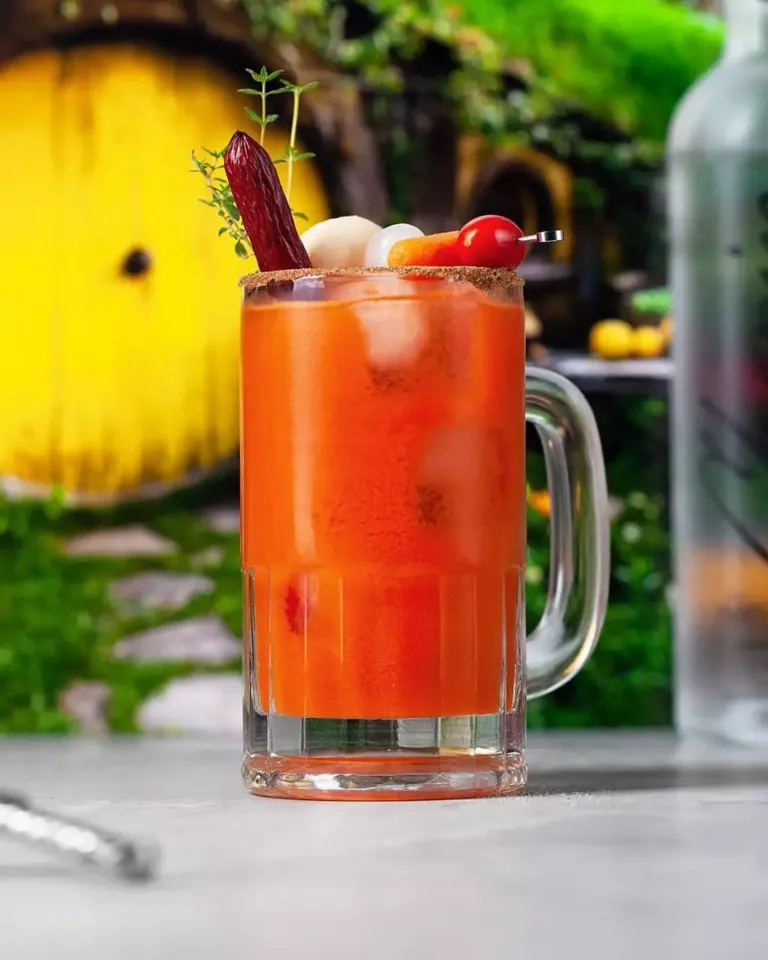
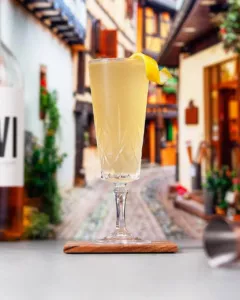
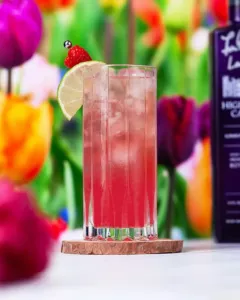
Cocktails I Made with Prickly Pear Syrup
Prickly Pear Syrup Ingredients
To make this syrup, you’ll need the following ingredients:
Pure Cane Granulated Sugar: This is a refined sweetener made from sugarcane juice that’s been crystallized and dried into uniform, free-flowing white crystals.
Water: This is a clear, tasteless, and odorless liquid that’s composed of hydrogen and oxygen.
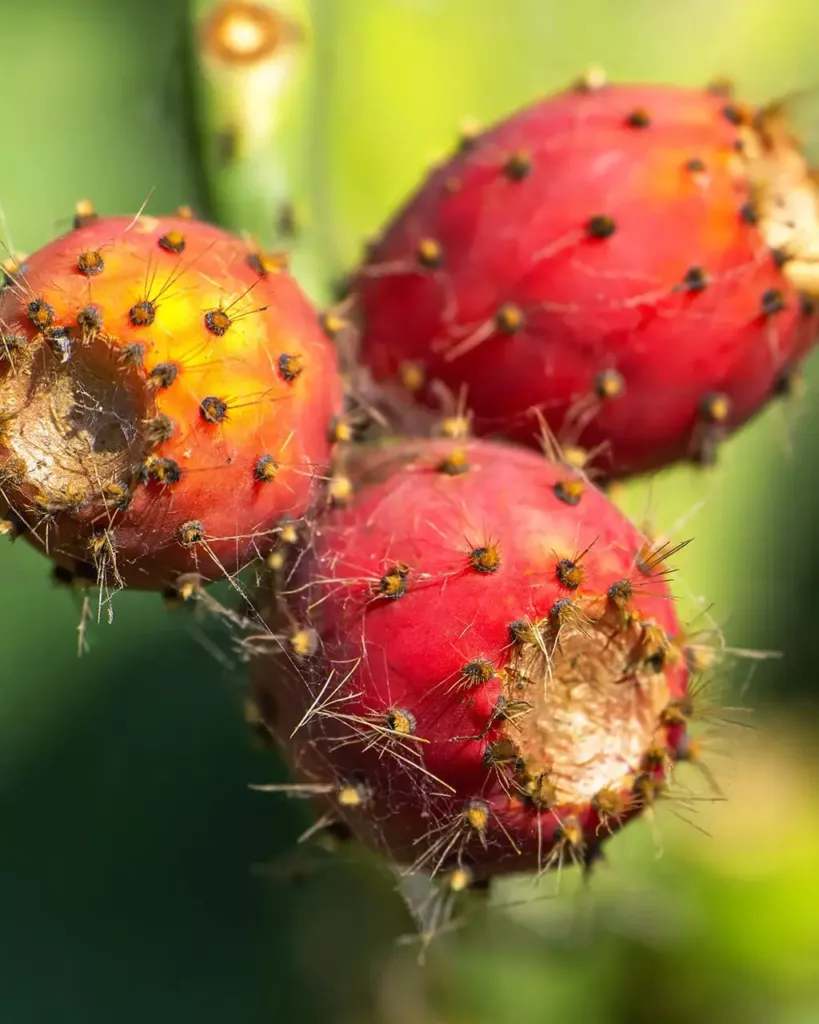
Prickly Pear: This is the sweet, jewel-toned fruit of the cactus species Opuntia that’s known for its vibrant magenta flesh and subtly melon-like flavor with hints of berry.
Brands I Used
How to Make Prickly Pear Syrup
There are a couple of ways to make prickly pear syrup, and which one you choose depends on the tools you have and how hands-on you want to be.
Cooking Methods
Sous Vide Method: This is my go-to for most cocktail syrups that are infused with various flavors—a technique I first came across in the book Death & Co: Modern Classic Cocktails.
By sealing the ingredients and heating them in a temperature-controlled water bath, the sugar gradually dissolves while the prickly pear slices gently infuse their flavor into the syrup. The steady, low heat helps preserve the fruit’s brilliant magenta color and subtle melon-berry sweetness, while preventing scorching or over-reduction, which can happen when cooking on direct heat.
Stovetop Method: This is the traditional method for making cocktail syrups, and it works well enough if you don’t have an immersion circulator or are short on time.
The prickly pear, sugar, and water are heated together in a saucepan over low heat, stirring until the sugar dissolves and the fruit releases its juices into the syrup. While quicker and requiring less equipment, you’ll need to pay more attention to the syrup to avoid overheating, which can dull the delicate flavor or mute the bright color of the prickly pear.
Tools for Making Prickly Pear Syrup
To make this syrup using the sous vide method, you’ll need the following tools:
Stockpot: This is a large, deep cooking pot with straight sides and a flat bottom that’s typically used for preparing soups, stocks, sauces, or other recipes that require simmering larger quantities of liquid.
Immersion Circulator: This is a compact kitchen device that heats and continuously circulates water to maintain a consistent temperature for precision cooking.
Chef’s Knife: This is a versatile, broad-bladed kitchen knife with a pointed tip, typically 6-10 inches long, that’s designed for slicing, chopping, dicing, and mincing a variety of ingredients.
Measuring Cup Set: This is a collection of cups and spoons in varying sizes, typically featuring easy-to-read markings and durable, easy-to-handle designs, that’s used to accurately measure both dry and liquid ingredients.
Food Scale: This is a kitchen tool that’s used to accurately measure the weight of ingredients, helping ensure precise portions and consistent results in cooking and baking.
Blender: This is a kitchen appliance with rotating blades that chops, purees, or emulsifies ingredients into smooth liquids or mixtures.
Large Freezer Bag: This is a resealable plastic bag with an interlocking closure at the top that’s used for storing, freezing, or transporting food securely.
Small Spring Clips: These are small, spring-loaded clips that are used to hold objects securely together.
Fine Mesh Strainer: This is a bar tool with a tightly woven mesh that’s used to strain small ice shards, pulp, and other solids from mixed drinks for a smooth, clean pour.
Pour Spout Measuring Cup: This is a container that’s marked with volume measurements and equipped with a spout to precisely control pouring liquids.
Silicone Spatula: This is a flexible, heat-resistant kitchen tool that’s used for stirring, scraping, and folding ingredients in bowls or pans without scratching the cookware.
Silicone Funnel: This is a flexible, heat-resistant funnel used to easily transfer liquids or powders into containers with narrow openings without spilling.
Tools I Used
- 🔗 All-Clad D3 3-Ply 8 Quart Stainless Steel Stockpot
- 🔗 Instant Pot Accu Slim Immersion Circulator
- 🔗 OXO Good Grips 8-Inch Chef’s Knife
- 🔗 OXO 8 Piece Stainless Steel Measuring Cup Set
- 🔗 OXO Good Grips Everyday Glass Food Scale
- 🔗 Cuisinart SPB-7CH SmartPowder Electronic Bar Blender
- 🔗 Ziploc Gallon Freezer Bags
- 🔗 Romeda 3 ½ Inch Spring Clamps
- 🔗 Barfly Stainless Steel Fine Mesh Cocktail Strainer
- 🔗 OXO Good Grips 2 Cup Angled Measuring Cup
- 🔗 OXO Good Grips Silicone Everyday Spatula
- 🔗 Olamar Premium Silicone Kitchen Funnel Set
How to Store Prickly Pear Syrup
After your prickly pear syrup is ready, it’ll need to be chilled to preserve freshness.
Refrigerator Storage
For short-term use, I transfer the syrup to a condiment squeeze bottle or airtight jar and store it in the refrigerator. This method is great when I plan to use the syrup in cocktails within a few days, since the bottle or jar makes it easy to measure and pour without mess.
Freezer Storage
For long-term storage, I transfer the syrup to a flexible pouch with a pouring spout, leaving a little space at the top to allow for expansion as it freezes. I’ll then thaw the pouch in a bowl of water when I’m ready to use the syrup again.
Flavored syrups like this one typically stay fresh for one to two weeks in the refrigerator and up to three months in the freezer. To keep track of freshness, I recommend labeling your containers with the date the syrup was made so you know when to enjoy or discard each batch.
Storage Containers I Used
Squeeze Bottle: This is a flexible, squeezable container with a narrow spout that’s designed for dispensing liquids or sauces in controlled amounts.
Storage Pouch with Pouring Spout: This is a flexible, resealable container that’s designed for storing liquids so they can easily be poured without spills.
Recipe

Prickly Pear Syrup
Description
Bright, sweet, and impossibly pink, prickly pear syrup brings a burst of flavor and a pop of color to any cocktail. Made by infusing sugar with fresh prickly pear, it captures the fruit’s natural melon-like sweetness and delicate berry notes, and it can be used to jazz up a classic template or give your own creative concoctions a striking, magenta twist.
Yield: 16 fl oz
Serving Size: 1 fl oz each
Ingredients
Sous Vide Method
Fill a large stockpot with hot water, attach immersion circulator to the side of the pot, and set temperature to 135°F.
Using a chef's knife, cut prickly pear into large slices, then measure out 300 g slices.
Add 480 g sugar to a blender.
Measure out 480 ml hot water, then slowly pour into blender with sugar and blend for 30–60 seconds until sugar is fully dissolved.
Add sugar and water mixture and 300 g prickly pear slices to a high-quality, sealable freezer bag, removing as much air as possible as you seal it.
Once the water has heated to 135°F, submerge the bag, leaving the top 3–4 inches outside of the water, and secure it to the side of the pot with clips so it doesn’t float.
Let syrup cook at 135°F for 2 hours, checking occasionally to make sure the bag remains submerged and the water temperature stays consistent.
Once cooked, carefully remove the bag from the water and place it into an ice bath for a few seconds, then let syrup cool for 5–10 minutes.
Strain syrup through a fine mesh strainer 1–2 times to remove prickly pear slices and any undissolved sugar.
Using a funnel, pour syrup into a squeeze bottle or reusable pouch and store in the refrigerator or freezer.


